Introduction to Stable Diffusion
Have you ever dreamed of turning your ideas into stunning images? With the rise of artificial intelligence (AI), this dream is now a reality thanks to tools like Stable Diffusion. Whether you’re an artist, a designer, or just someone who loves creating, this guide will walk you through the process of generating beautiful images using Stable Diffusion.
What is Stable Diffusion?
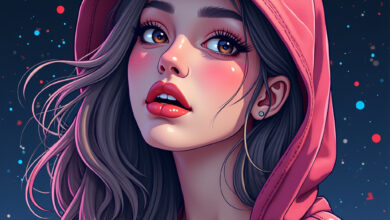
Stable Diffusion is a state-of-the-art AI model designed to generate images from text descriptions. It uses a process called diffusion to create high-quality visuals based on the input you provide. This technology is accessible to everyone, allowing you to bring your creative ideas to life without needing advanced artistic skills.
Getting Started: Setting Up Stable Diffusion
Before you can start creating, you’ll need to set up Stable Diffusion on your computer or use an online platform. Here’s how:
- Choose Your Platform: You can either download Stable Diffusion to run locally on your computer or use a web-based platform like Hugging Face or DreamStudio.
- Install Dependencies (if applicable): If you choose to run it locally, make sure you have the necessary software like Python and Git installed.
- Download Stable Diffusion: Follow the instructions on the official GitHub page to download and set up the model.
Crafting Your Prompt
The key to creating stunning images with Stable Diffusion lies in how you craft your prompts. A prompt is the text description you give to the AI to generate an image. Here are some tips to create effective prompts:
- Be Descriptive: Use vivid adjectives and specific nouns. For example, instead of saying “a dog,” try “a fluffy golden retriever playing in a sunlit park.”
- Specify Style: If you want a particular artistic style, mention it! For example, “in the style of Van Gogh” or “as a watercolor painting.”
- Include Context: Adding context can help the AI understand what you’re looking for. For example, “a futuristic city at sunset” provides a clear image for the AI to work with.
Generating the Image
Once you’ve crafted your prompt, it’s time to generate the image. Here’s how to do it:
- Input Your Prompt: In the Stable Diffusion interface, enter your carefully crafted prompt.
- Adjust Settings: You can tweak settings like image resolution, number of iterations, and other parameters to refine your output.
- Generate: Hit the generate button and watch as the model creates your image! This process may take a few seconds to a minute.
Refining Your Image
After generating your image, you may want to refine it further. Here are a few ways to do so:
- Regenerate: If the first image isn’t quite what you envisioned, try tweaking your prompt or settings and generate again.
- Post-Processing: Use image editing software like Photoshop or GIMP to make additional adjustments such as color correction or cropping.
- Combine Images: You can also combine multiple images generated by Stable Diffusion for a more complex result.
Sharing Your Creations
Once you’re satisfied with your stunning image, it’s time to share it! Here are some popular platforms where you can showcase your work:
- Social Media: Platforms like Instagram, Twitter, and Pinterest are great for sharing visual art.
- Art Communities: Websites like DeviantArt or ArtStation allow you to connect with other artists and receive feedback.
- Personal Portfolio: Consider creating your own website to showcase your creations and attract potential clients or collaborations.
Conclusion
Creating stunning images with Stable Diffusion is an exciting journey that anyone can embark on, regardless of their artistic background. By following the steps outlined in this guide, you can unleash your creativity and generate unique visuals that reflect your ideas. So, get started, have fun, and let your imagination run wild!